Headleass Chrome使用教程

前言

本文介绍Google的一款无头浏览器headless chrome,无头浏览器的应用场景一般用在自动化测试,爬虫开发,自动截图等,网络爬虫开发在不考虑性能的情况下一般会借助无头浏览器来抓取。本文为原创分享,可能有误望谅解。

本地使用headless chrome

首先下载chromedriver,配置相关启动参数

  • webdriver.chrome.driver:设置chromedriver路径,将下载好的chromedriver移动到这个目录下
  • –user-data-dir:用户数据存放目录,假设需要多开headless chrome则需要新建另一个目录用来区分不同账户
  • –profile-directory:配置文件存放目录,多开headless chrome也需要新建一个新的目录用来区分不同账户
  • –User-Agent:修改用户来源,反爬措施会检测到headless chrome的User-Agent
  • –headless:开启headless模式
  • –disable-gpu:官方文档建议使用,避免出现bug
  • –window-size=1920,1080:设置分辨率
  • –remote-debugging-address=0.0.0.0:设置远程调试地址,默认是本地回环地址127.0.0.1
  • –remote-debugging-port=9222:设置远程调试端口

更多配置可以参考:https://peter.sh/experiments/chromium-command-line-switches

在pom.xml文件增加selenium依赖

1
2
3
4
5
<dependency>
<groupId>org.seleniumhq.selenium</groupId>
<artifactId>selenium-java</artifactId>
<version>2.42.1</version>
</dependency>

编写以下代码

1
2
3
4
5
6
7
8
9
10
11
12
13
14
15
16
17
18
19
20
21
22
23
24
25
26
27
String driverPath = "D:\\soft\\chromedriver.exe";
System.setProperty("webdriver.chrome.driver",driverPath);

ChromeOptions options = new ChromeOptions();
String userDataDir = "D:\\Profile\\Profile1";
File file = new File(userDataDir);
if(!file.exists()){
file.mkdir();
}
String profileDir = "D:\\Profile\\profile1";
file = new File(profileDir);
if(!file.exists()){
file.mkdir();
}
options.addArguments("--user-data-dir=" + userDataDir);
options.addArguments("--profile-directory=" + profileDir);
options.addArguments("--User-Agent=Mozilla/5.0 (Windows NT 10.0; WOW64) AppleWebKit/537.36 (KHTML, like Gecko) Chrome/71.0.3578.80 Safari/537.36");
options.addArguments("--headless");
options.addArguments("--disable-gpu");
options.addArguments("--window-size=1920,1080");
options.addArguments("--remote-debugging-address=0.0.0.0");
options.addArguments("--remote-debugging-port=9222");

WebDriver headlessChromeDriver = new ChromeDriver(options);
headlessChromeDriver.manage().timeouts().implicitlyWait(1, TimeUnit.SECONDS);

headlessChromeDriver.get("https://www.baidu.com");

当你使用–remote-debugging-port=9222运行Chrome他会启动一个支持DevTool协议的实例该协议用于与Chrome进行通信,并且驱动 Headless Chrome浏览器实例。它也是一个类似Sublime、VS Code 和 Node 的工具,可用于应用程序的远程调试。#协同效应

启动程序后可以使用localhost:9222访问headless chrome的运行情况

remote-debugging-1

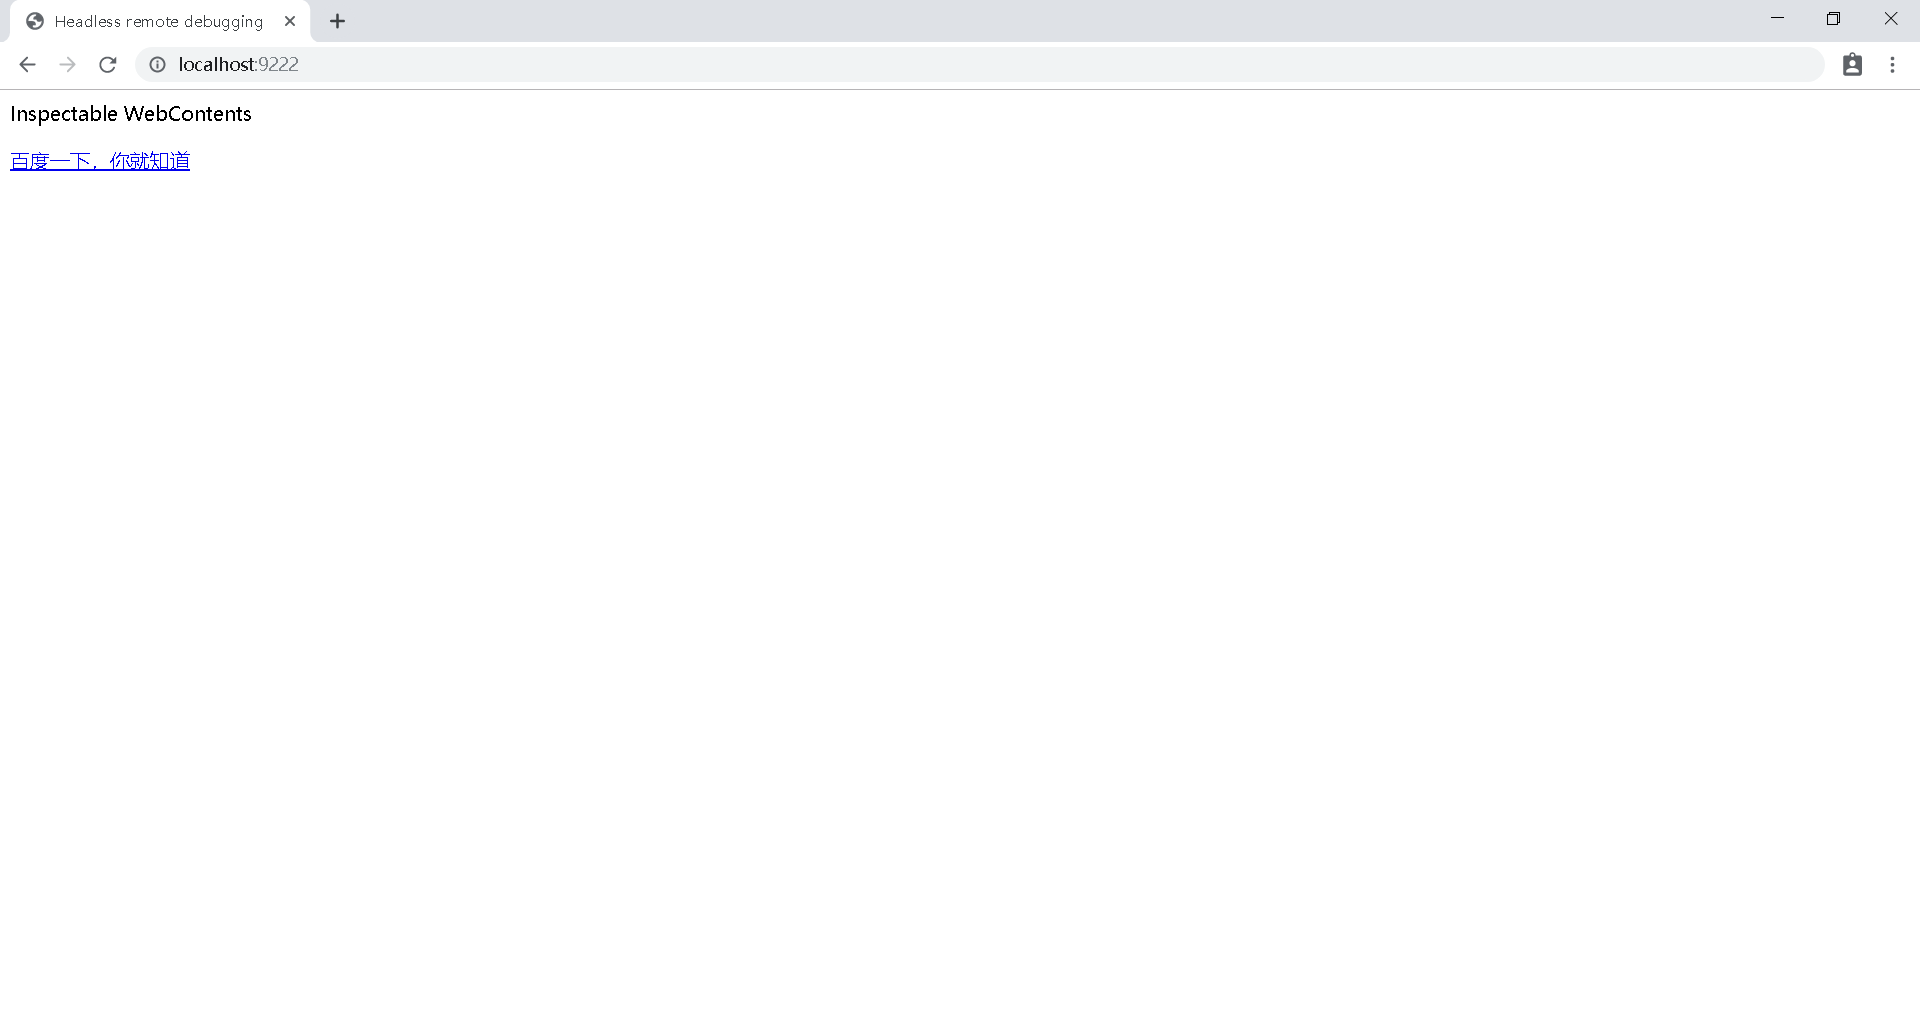
点击”百度一下,你就知道”则进入打开的百度窗口
remote-debugging-2

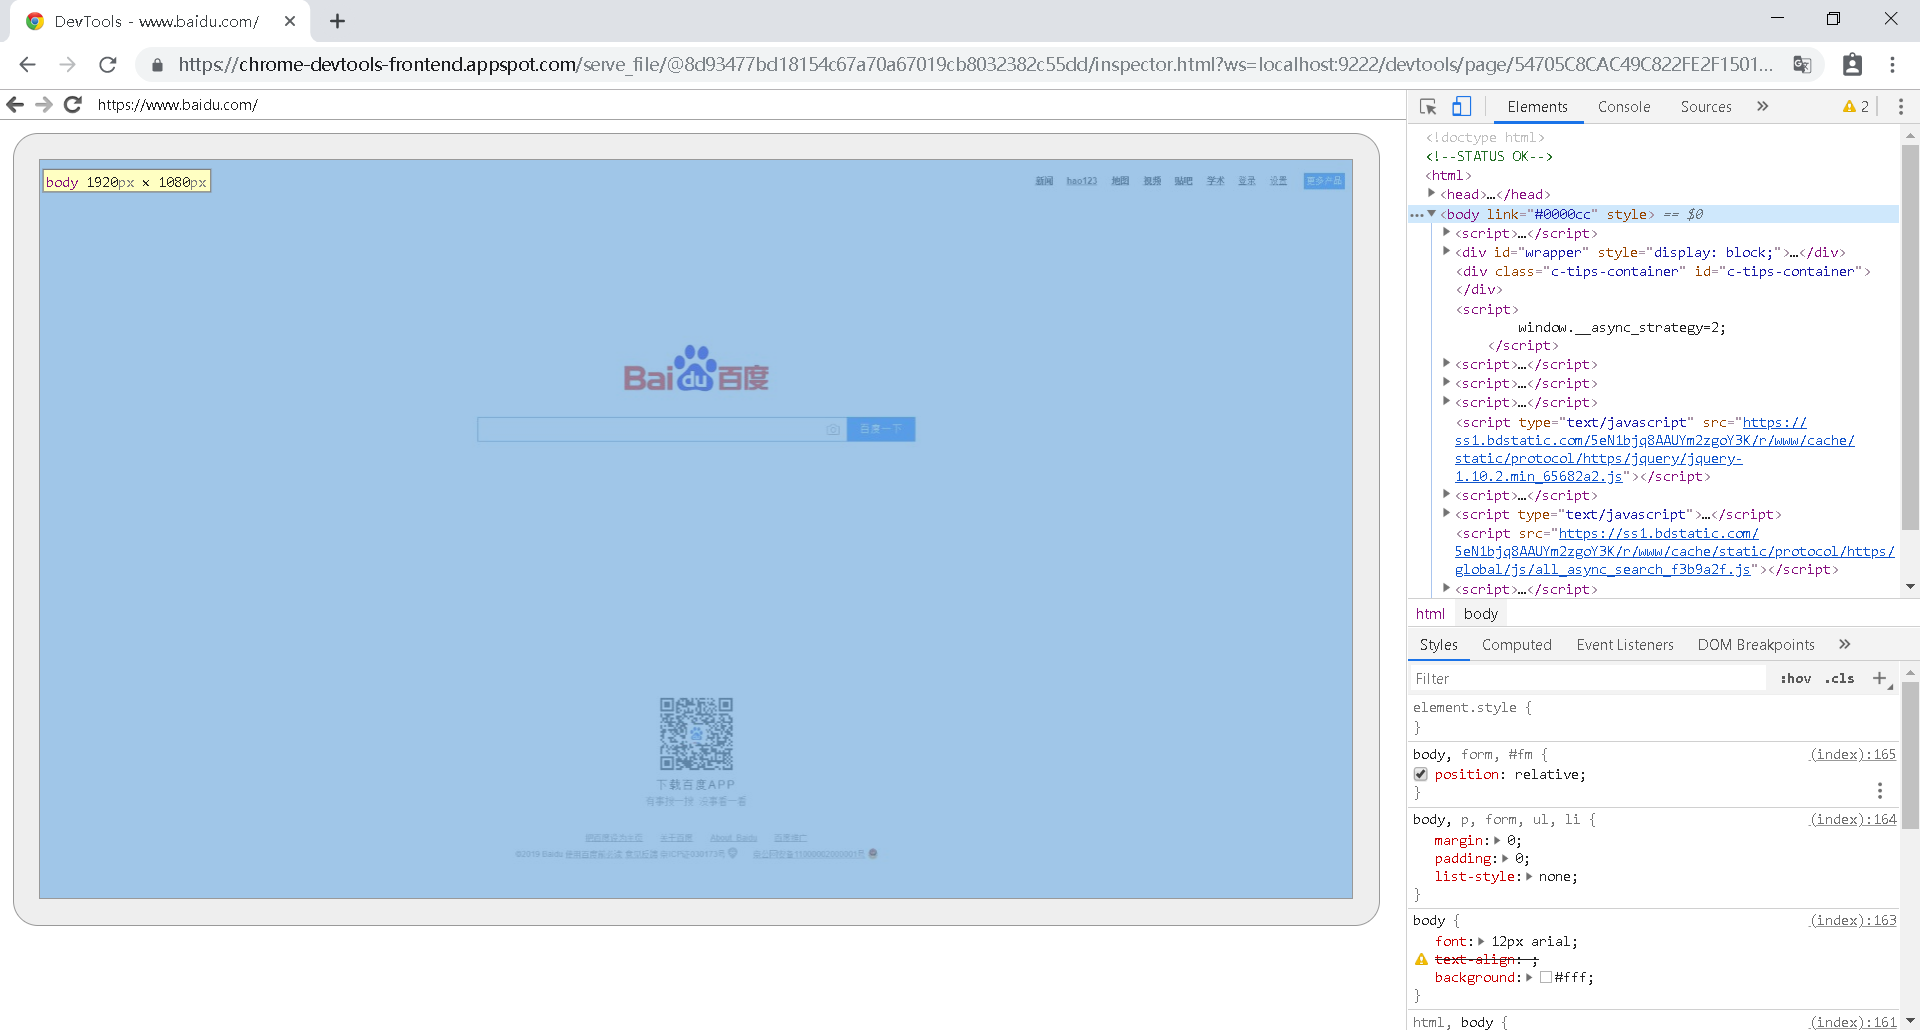
DevTool Api:https://chromedevtools.github.io/devtools-protocol

远程使用headless chrome

基本原理

headless chrome除了可以运行在本地机器,还可以运行在远程机器,本地使用客户端调用。在服务端安装chromedriver,本地通过RemoteWebDriver调用服务端的chromedriver。

搭建服务端环境

服务端选用阿里云CentOS7机器,配置是1核2G,也可以使用windows机器,windows机器搭建和linux基本一致,直接进入相关链接下载对应的版本即可。

  • 安装chrome
1
2
wget http://dl.google.com/linux/chrome/rpm/stable/x86_64//google-chrome-stable-76.0.3809.100-1.x86_64.rpm
yum localinstall google-chrome-stable-76.0.3809.100-1.x86_64.rpm
  • 安装chromedriver
1
2
wget https://chromedriver.storage.googleapis.com/76.0.3809.25/chromedriver_linux64.zip
unzip chromedriver_linux64.zip
  • 下载selenium-server-standalone
1
wget http://selenium-release.storage.googleapis.com/2.42/selenium-server-standalone-2.42.1.jar
  • 启动selenium-server-standalone
    启动selenium-server-standalone需要使用jdk,首先确保你的机器上可以使用java命令(建议使用jdk8),然后使用下列命令启动
1
java -Dwebdriver.chrome.driver=/usr/local/chromedriver -jar selenium-server-standalone-2.42.1.jar -port 4445

其中-Dwebdriver.chrome.driver=/usr/local/chromedriver是指定chromedriver所在路径,必须保证和刚才下载的chromedriver所在路径保持一致。 -port 4445是启动端口,默认的启动端口是4444,因为在liunx环境下部分运营商会禁止一些端口的使用,其中就包含4444,所以这里需要指定一个自定义的端口。为了能够在后台启动所以使用下面的命令启动

1
nohup java -Dwebdriver.chrome.driver=/usr/local/chromedriver -jar selenium-server-standalone-2.42.1.jar -port 4445 >> selenium-server-standalone.log 2>&1 &

输入启动命令后查看selenium-server-standalone.log文件,看到以下输出则是启动成功。#启动比较慢,耐心等待即可

selenium-server-standalone-start

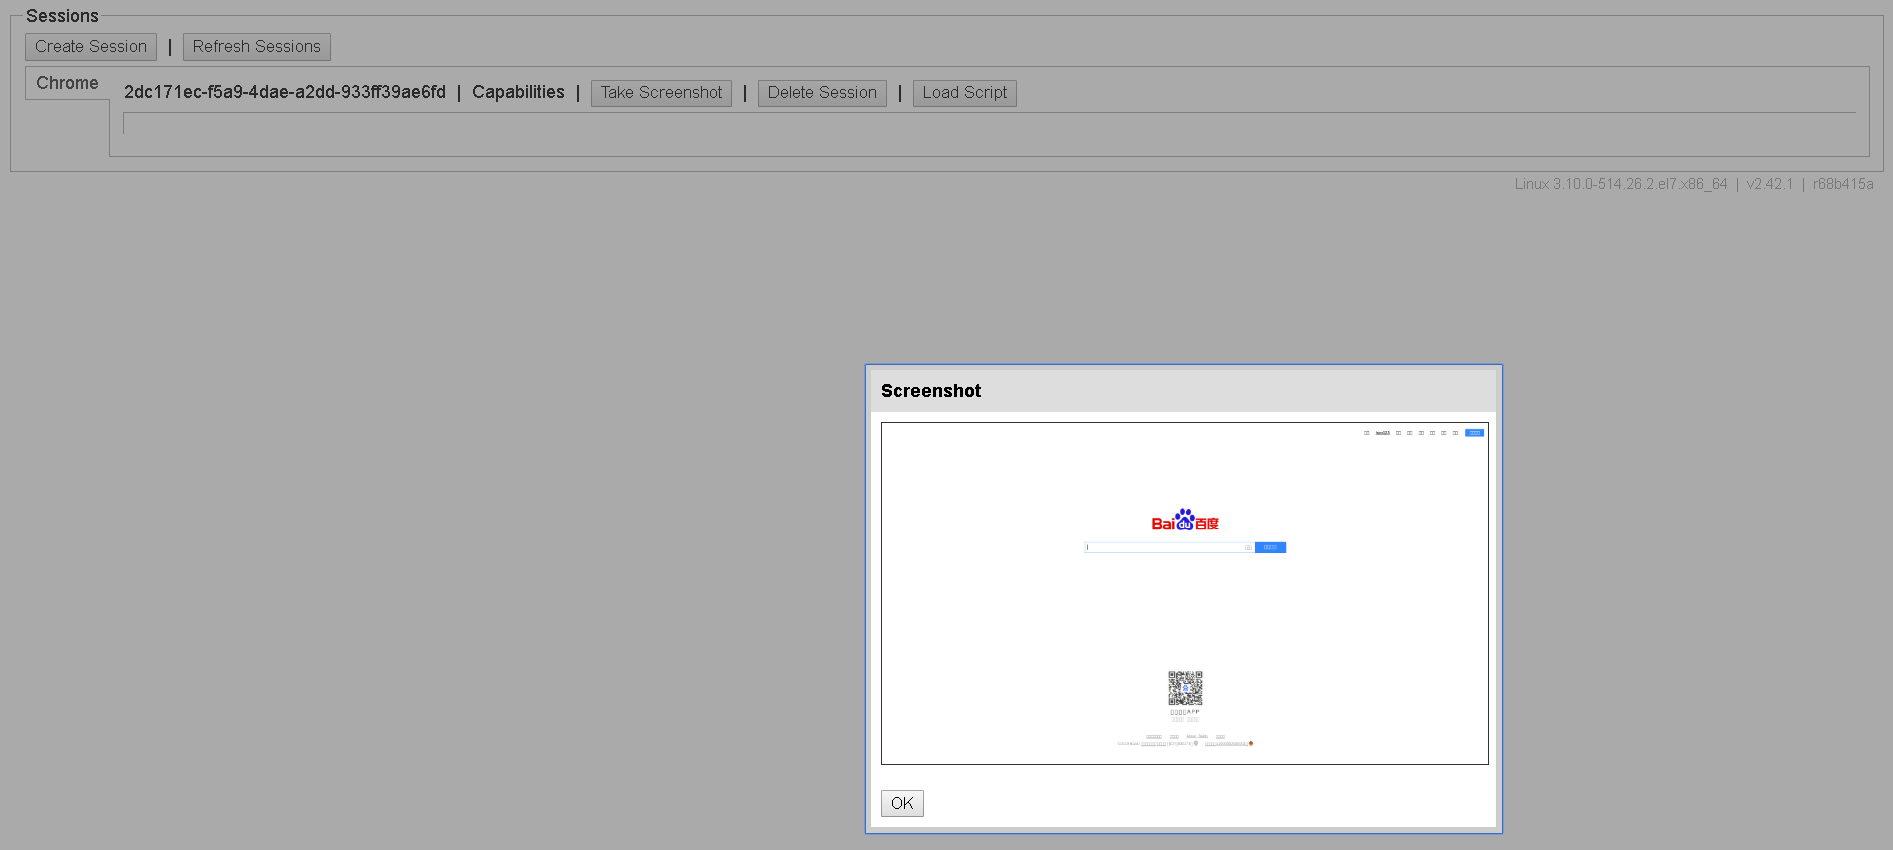
在浏览器地址栏输入http://yourip:4445/wd/hub即可看到以下输出,到这里服务端环境已经搭建成功。

selenium-hub

客户端测试

客户端直接使用windows环境测试,编写以下代码,ChromeOptions设置和headless chrome本地运行类似

1
2
3
4
5
6
7
8
9
10
11
12
13
14
15
16
17
18
19
20
21
22
23
24
25
26
27
ChromeOptions options = new ChromeOptions();
options.addArguments("--user-data-dir=/usr/local/selenium/data");
options.addArguments("--profile-directory=/usr/local/selenium/profile");
options.addArguments("--User-Agent=Mozilla/5.0 (Windows NT 10.0; WOW64) AppleWebKit/537.36 (KHTML, like Gecko) Chrome/71.0.3578.80 Safari/537.36");
options.addArguments("--headless");
options.addArguments("--disable-gpu");
options.addArguments("--window-size=1920,1080");
options.addArguments("--remote-debugging-address=0.0.0.0");
options.addArguments("--remote-debugging-port=9222");
options.addArguments("--no-sandbox");

DesiredCapabilities desiredCapabilities = DesiredCapabilities.chrome();
//启用性能日志
LoggingPreferences logPrefs = new LoggingPreferences();
logPrefs.enable(LogType.PERFORMANCE, Level.ALL);
desiredCapabilities.setCapability(CapabilityType.LOGGING_PREFS, logPrefs);
desiredCapabilities.setCapability(ChromeOptions.CAPABILITY,options);
RemoteWebDriver remoteHeadlessDriver;
try {
remoteHeadlessDriver = new RemoteWebDriver(new URL("http://yourip:4445/wd/hub"),desiredCapabilities);
} catch (MalformedURLException e) {
e.printStackTrace();
return;
}
remoteHeadlessDriver.get(https://www.baidu.com");
//记得最后关闭浏览器
remoteHeadlessDriver.quit();

运行客户端程序后,在浏览器地址栏输入http://yourip:4445/wd/hub即可查看chrome运行状态,点击Take Screenshot即可截屏远程headless chrome

remote-headless-chrome

remote-headless-chrome-screenshot

后记

关于headless chrome的使用教程介绍到这里差不多就结束了,本文只介绍如何运行headless chrome,关于API的使用可自行阅读官方文档等资料。

0%